
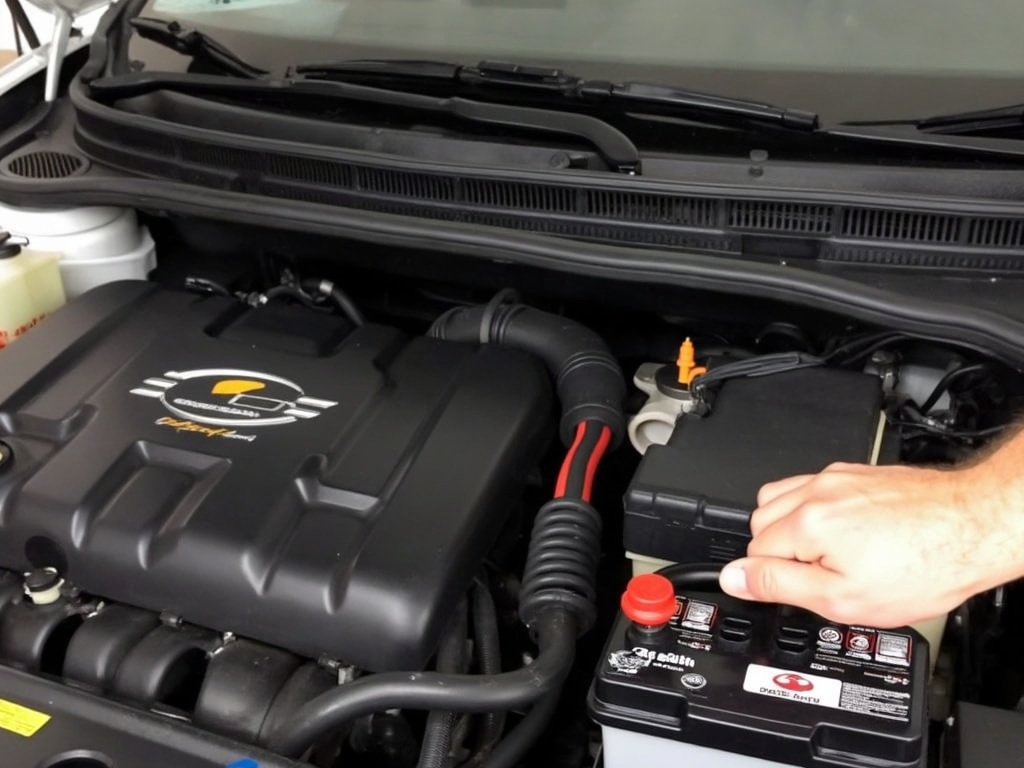
A car battery is essential for powering the electrical components in your vehicle, including starting the engine. Over time, your battery can wear out or fail, leaving you stranded. Fortunately, replacing a car battery is one of the simplest DIY tasks you can perform, even if you’re a beginner. In this guide, we’ll walk you through the process step by step to ensure you can get back on the road quickly and safely.
Why You Might Need to Replace Your Battery
Car batteries typically last between 3 to 5 years, depending on usage, environmental conditions, and maintenance. Some common signs that you might need a new battery include:
- Difficulty starting the engine.
- Dim headlights or electrical malfunctions.
- A battery warning light on the dashboard.
- Corroded battery terminals.
- A swollen or leaking battery case.
If you notice any of these symptoms, it’s time to test the battery and consider a replacement.
What You’ll Need
Before you get started, gather the following tools and materials:
- A new car battery (consult your car manual for the correct type and size).
- A wrench or socket set for removing the battery terminals.
- A pair of gloves to protect your hands.
- Safety goggles to guard against battery acid.
- A wire brush or battery terminal cleaner.
- Petroleum jelly or terminal grease (optional).
Safety Precautions
Working with a car battery requires caution. Here are some important safety tips to follow:
- Always turn off the engine and remove the key from the ignition before starting.
- Avoid touching both battery terminals at the same time with metal tools to prevent short circuits.
- Wear gloves and goggles to protect against acid or corrosion.
- Work in a well-ventilated area to avoid exposure to harmful fumes.
Step 1: Locate and Inspect the Battery
Start by opening the hood of your car and locating the battery. Most vehicles have the battery mounted near the front of the engine bay, but some may place it in the trunk or under the rear seats.
Inspect the battery for visible signs of damage or corrosion. If you see white or greenish buildup on the terminals, this is corrosion that can prevent good electrical contact. Make a mental note to clean it during the process.
Step 2: Disconnect the Battery Terminals
Begin by disconnecting the negative terminal, which is usually marked with a minus (-) sign or a black cable. Loosen the nut on the terminal clamp using a wrench or socket. Gently wiggle the clamp until it comes free.
Next, disconnect the positive terminal, marked with a plus (+) sign or a red cable. Follow the same process of loosening the nut and removing the terminal clamp.
Important: Always disconnect the negative terminal first and reconnect it last to avoid electrical shorts.
Step 3: Remove the Old Battery
Once the terminals are disconnected, check if the battery is held in place by a retaining clamp or bracket. Use your tools to loosen and remove the bracket.
Carefully lift the battery out of its tray. Car batteries can be heavy, so use both hands and ensure you’re lifting with your legs, not your back. Place the old battery on a flat surface away from the car.
Step 4: Install the New Battery
Before installing the new battery, clean the battery tray and terminals using a wire brush or terminal cleaner. This will remove any corrosion or debris that could interfere with the connection.
Place the new battery into the tray, ensuring the positive and negative terminals are correctly aligned with the corresponding cables. Secure the battery using the retaining clamp or bracket to prevent movement while driving.
Step 5: Reconnect the Battery Terminals
Reconnect the terminals in reverse order, starting with the positive terminal. Slide the terminal clamp onto the battery post and tighten the nut securely. Repeat the process for the negative terminal.
To prevent future corrosion, apply a small amount of petroleum jelly or terminal grease to the battery posts and clamps.
Finally, double-check that all connections are tight and secure.
After Installation: Testing Your New Battery
Start the engine to ensure everything is working properly. The car should start smoothly, and the battery warning light on the dashboard should turn off.
Test electrical components such as headlights, the radio, and power windows to confirm the new battery is providing sufficient power.
Tips for Extending Your Battery’s Life
- Drive Regularly: Short trips can drain your battery without giving it enough time to recharge. Try to drive your car for at least 20 minutes a few times a week.
- Turn Off Accessories: When the engine is off, avoid using the radio, lights, or other electrical features.
- Check for Parasitic Drains: Faulty wiring or devices left plugged into power outlets can drain the battery.
- Clean Terminals Regularly: Prevent corrosion by cleaning the battery terminals every few months.
- Park in a Garage: Extreme cold or heat can shorten your battery’s lifespan. Parking in a garage or shaded area helps reduce temperature-related wear.
Common Mistakes to Avoid
- Reversing the Terminals: Connecting the cables to the wrong battery posts can cause serious damage to the electrical system. Always double-check before tightening the clamps.
- Overtightening Clamps: While it’s important to secure the terminals, overtightening can damage the battery posts. Tighten them just enough to hold the clamps firmly in place.
- Skipping Terminal Cleaning: Corroded terminals can lead to poor electrical connections, even with a new battery. Always clean them before installation.
- Not Recycling the Old Battery: Car batteries contain hazardous materials and should never be thrown in the trash. Take the old battery to an auto parts store or recycling center.
Conclusion
Replacing your car battery is a straightforward DIY task that can save you both time and money. By following these five simple steps, you can ensure a safe and successful battery replacement. Regular maintenance and care will also help your new battery last longer, providing reliable performance for years to come.
Whether you’re a seasoned DIY mechanic or just starting out, this guide empowers you to take control of your car’s health and avoid unnecessary breakdowns. With the right tools and knowledge, you’ll be able to tackle this and many other car repairs like a pro.