
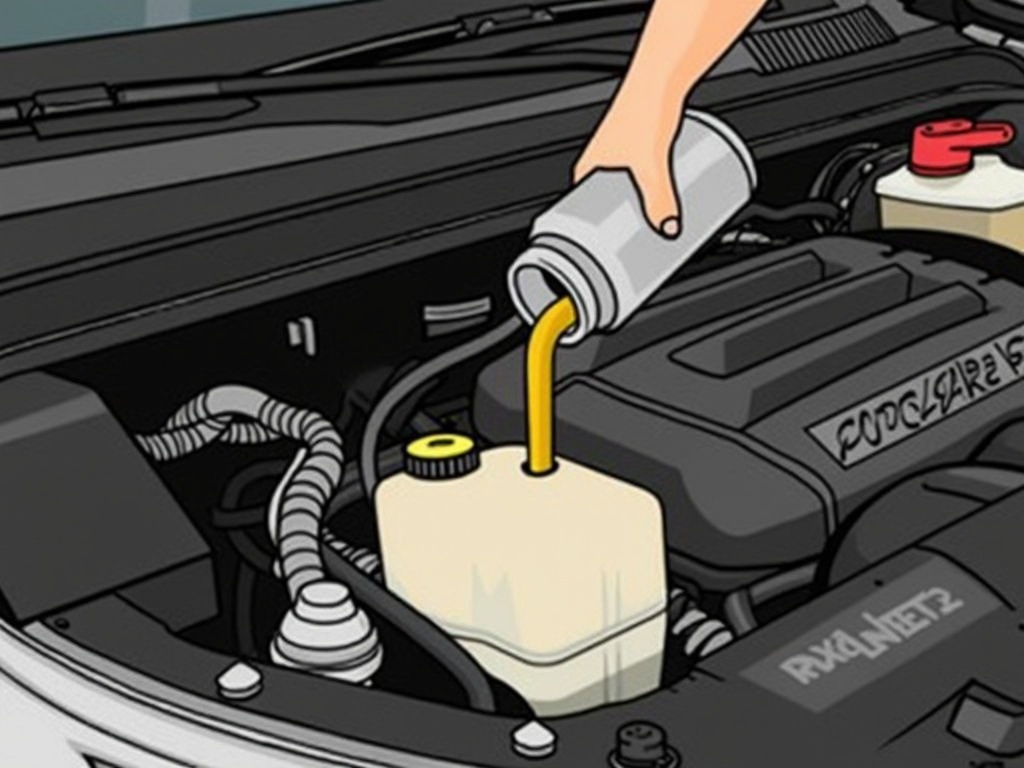
Regular oil changes are one of the most important maintenance tasks for keeping your engine running smoothly and efficiently. Engine oil lubricates the moving parts, reduces friction, and helps to cool the engine. Over time, oil becomes dirty and less effective, so changing it at the recommended intervals is critical to your car’s performance and longevity.
This guide will take you through the process of changing your engine oil and oil filter step by step.
Why Changing Your Oil is Important
Clean engine oil provides the following benefits:
- Lubrication: Prevents wear and tear on engine components.
- Cooling: Helps regulate engine temperature by reducing friction.
- Cleaning: Captures dirt, debris, and metal particles that can damage the engine.
- Improved Performance: Ensures smooth operation and optimal fuel efficiency.
When to Change Your Oil
The frequency of oil changes depends on your vehicle and driving habits.
- Conventional Oil: Change every 3,000–5,000 miles.
- Synthetic Oil: Change every 7,500–10,000 miles.
- Check Your Owner’s Manual: Follow the manufacturer’s recommendations for your car.
Signs You Need an Oil Change:
- Dark, dirty oil on the dipstick.
- Low oil levels.
- Increased engine noise or knocking.
- Oil change warning light on the dashboard.
Tools and Materials You’ll Need
To change your oil and filter, you’ll need:
- New Engine Oil: Check your owner’s manual for the correct type and amount (e.g., 5W-30, 10W-40).
- New Oil Filter: Match the filter to your car’s make and model.
- Oil Filter Wrench: For removing the old filter.
- Socket Wrench: To remove the drain plug.
- Oil Drain Pan: To catch the used oil.
- Funnel: For pouring new oil into the engine.
- Gloves and Rags: To keep your hands clean and wipe up spills.
- Car Jack and Jack Stands: To lift and secure the vehicle.
- Oil Filter Gasket Grease (Optional): Helps create a proper seal on the new filter.
Step-by-Step Guide to Changing Your Oil and Oil Filter
Step 1: Prepare Your Vehicle
- Park on a Level Surface: Ensure your car is on level ground to get an accurate oil drain.
- Turn Off the Engine: Allow the engine to cool for 10–15 minutes if it has been running. Warm oil drains more easily, but you don’t want it to be too hot.
- Engage the Parking Brake: Ensure the car is secure.
Step 2: Raise the Car (If Needed)
- Use a jack to lift the front of the car and secure it on jack stands.
- Ensure the car is stable and won’t move while you’re working underneath.
Step 3: Drain the Old Oil
- Locate the Oil Drain Plug: Refer to your owner’s manual to find the drain plug on the oil pan (usually at the bottom of the engine).
- Place the oil drain pan beneath the plug to catch the used oil.
- Use a socket wrench to loosen the drain plug and remove it by hand. Let the oil drain completely (this may take a few minutes).
- Once the oil has stopped dripping, reinstall the drain plug and tighten it securely.
Step 4: Remove the Old Oil Filter
- Find the oil filter (often located near the oil pan or on the side of the engine).
- Use an oil filter wrench to loosen and remove the old filter. Be prepared for some oil to spill out.
- Check the mounting surface for the old filter’s rubber gasket. If it’s stuck to the engine, remove it carefully.
Step 5: Install the New Oil Filter
- Apply a thin layer of fresh oil to the rubber gasket on the new filter. This helps create a proper seal and makes future removal easier.
- Screw the new filter onto the engine by hand. Tighten it snugly, but avoid overtightening, as this can damage the gasket.
Step 6: Add New Oil
- Open the hood and locate the oil filler cap (usually labeled “Engine Oil”).
- Remove the cap and insert a funnel. Slowly pour the new engine oil into the engine.
- Add the amount specified in your owner’s manual, but leave a little room to check the oil level.
Step 7: Check the Oil Level
- Pull out the dipstick, wipe it clean with a rag, and reinsert it fully.
- Remove the dipstick again and check the oil level. It should be between the “MIN” and “MAX” marks.
- Add more oil if necessary, but avoid overfilling.
Step 8: Start the Engine
- Start the engine and let it run for a minute.
- Check for leaks around the drain plug and oil filter. Tighten them if necessary.
- Turn off the engine and wait a few minutes, then recheck the oil level and top it off if needed.
Step 9: Dispose of the Used Oil and Filter
- Pour the used oil into a sealed container (e.g., the empty oil container or a designated oil recycling jug).
- Take the used oil and filter to a recycling center or auto parts store that accepts them. Never pour oil down the drain or into the environment.
Tips for Success
- Warm the Engine: Slightly warm oil drains faster and more completely.
- Double-Check the Oil Type: Using the wrong oil can affect engine performance.
- Replace the Washer on the Drain Plug (If Applicable): Some vehicles use a metal or rubber washer that should be replaced each time.
- Clean Up Spills: Wipe off any spilled oil to prevent it from burning or smoking later.
Common Mistakes to Avoid
- Overtightening the Oil Filter: Hand-tightening is usually sufficient. Overtightening can damage the gasket.
- Using the Wrong Oil: Always refer to your owner’s manual for the correct oil type and viscosity.
- Skipping the Gasket Check: Leaving the old gasket on the engine can cause leaks.
- Not Tightening the Drain Plug Properly: A loose plug can lead to oil leaks, while overtightening can strip the threads.
- Forgetting to Dispose of Oil Properly: Used oil is toxic and must be recycled.
How to Maintain Your Oil and Engine Health
- Check Oil Levels Regularly: Inspect the oil level and condition every month or before long trips.
- Follow the Manufacturer’s Schedule: Stick to the recommended oil change intervals for your vehicle.
- Watch for Signs of Engine Trouble: Low oil pressure, engine noise, or smoke may indicate oil-related problems.
- Use High-Quality Oil and Filters: Investing in quality products can extend engine life and improve performance.
Conclusion
Changing your engine oil and oil filter is a simple yet essential maintenance task that keeps your vehicle running smoothly and efficiently. By following this step-by-step guide, you can confidently perform an oil change at home, saving money and ensuring your engine stays in top shape.
Regular oil changes are one of the best ways to protect your car’s engine, so don’t delay—keep your oil fresh, and your engine will thank you! 🚗🔧