
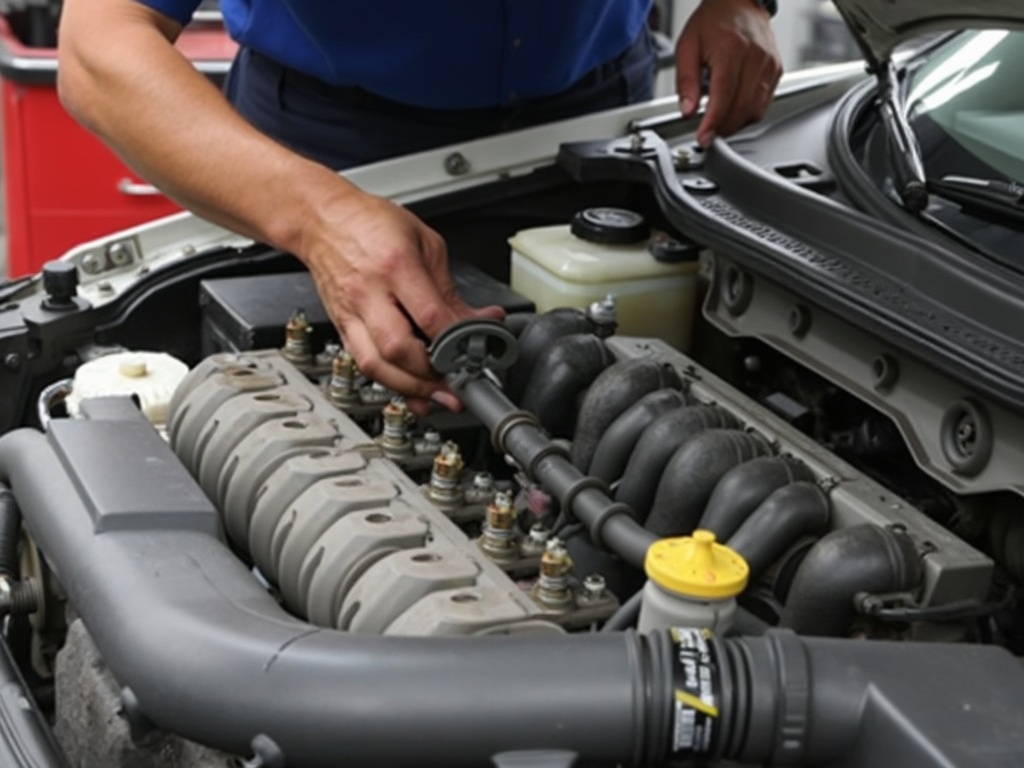
Your car’s spark plugs are essential for igniting the air-fuel mixture in the engine, enabling it to run smoothly. Over time, these small components wear out and can lead to poor performance, reduced fuel efficiency, and even engine misfires. The good news? Changing spark plugs is a relatively simple task that you can do yourself with basic tools and some guidance.
In this comprehensive guide, we’ll walk you through the process of replacing your spark plugs step by step, along with tips to ensure the job is done safely and effectively.
Why Spark Plug Replacement is Important
Spark plugs play a vital role in your car’s combustion process by creating the spark needed to ignite the air-fuel mixture. Worn or damaged spark plugs can lead to:
- Poor fuel efficiency.
- Difficulty starting the engine.
- Engine misfires or rough idling.
- Reduced acceleration.
Replacing spark plugs at the manufacturer-recommended intervals ensures optimal engine performance and prevents costly damage over time.
When to Replace Your Spark Plugs
Most spark plugs are designed to last between 20,000 and 100,000 miles, depending on your vehicle and the type of spark plugs used (copper, platinum, or iridium). Signs that your spark plugs need replacement include:
- Poor fuel economy.
- Engine misfires or hesitation.
- A rough or uneven idle.
- Trouble starting the car.
- A check engine light related to ignition issues.
Refer to your car’s owner manual for specific replacement intervals.
Tools and Materials You’ll Need
Before you begin, gather the following tools and materials:
- A new set of spark plugs (ensure they match your car’s specifications).
- A spark plug socket and ratchet.
- A torque wrench for proper tightening.
- Spark plug gap gauge (if required).
- Dielectric grease (optional, for better conductivity).
- A socket extension (for hard-to-reach plugs).
- A clean rag or compressed air.
Safety First
- Work on a Cold Engine: Spark plugs and engine components can become extremely hot after driving. Let the engine cool completely before starting.
- Disconnect the Battery: To avoid any accidental electrical issues, disconnect the negative terminal of your car’s battery.
- Work in a Well-Ventilated Area: If you’re working in a garage, ensure there’s proper ventilation to avoid inhaling harmful fumes.
Step-by-Step Guide to Changing Spark Plugs
Step 1: Locate the Spark Plugs
Open the hood and locate the spark plug wires or ignition coils. Modern cars typically have one ignition coil for each spark plug, while older cars may have wires connected to the plugs. Refer to your owner’s manual if you’re unsure of their location.
Step 2: Remove the Spark Plug Wires or Coils
- If your car uses ignition coils, unplug the electrical connector and remove the bolts securing the coil. Gently pull the coil out to access the spark plug.
- For cars with spark plug wires, firmly grip the wire boot (not the wire itself) and twist it slightly to loosen it before pulling it off.
Step 3: Clean the Area Around the Spark Plug
Before removing the spark plug, clean the area around it with compressed air or a clean rag. This step prevents dirt or debris from falling into the cylinder when the spark plug is removed.
Step 4: Remove the Old Spark Plug
Attach the spark plug socket to your ratchet and carefully loosen the spark plug by turning it counterclockwise. Once loose, remove the spark plug and inspect it for signs of wear, such as carbon buildup, oil fouling, or a damaged electrode.
Step 5: Check and Adjust the Spark Plug Gap
Using a spark plug gap gauge, check the gap between the electrode and the metal tip of the new spark plug. The correct gap measurement is typically listed in your owner’s manual or on the spark plug packaging. If the gap is incorrect, gently adjust it by bending the electrode with the gauge tool.
Step 6: Install the New Spark Plug
- Thread the new spark plug into the cylinder by hand to avoid cross-threading. Turn it clockwise until it’s snug.
- Use a torque wrench to tighten the plug to the manufacturer’s recommended torque specification. Overtightening can damage the threads, while undertightening may cause the plug to loosen over time.
Step 7: Apply Dielectric Grease (Optional)
If desired, apply a small amount of dielectric grease to the inside of the spark plug boot or coil connector. This helps improve electrical conductivity and prevents moisture from causing corrosion.
Step 8: Reinstall the Spark Plug Wires or Coils
- If your car has ignition coils, reattach them to the spark plugs, secure them with bolts, and reconnect the electrical connectors.
- For spark plug wires, push the wire boot firmly onto the spark plug until you feel it click into place.
Step 9: Repeat for All Spark Plugs
Repeat the process for each spark plug in your engine, working on one plug at a time to avoid mixing up the wires or coils.
Step 10: Test Your Work
Reconnect the battery and start the engine. Listen for a smooth, steady idle and ensure there are no warning lights on the dashboard. If the engine runs smoothly, you’ve successfully replaced your spark plugs.
Tips for Success
- Work Methodically: Replace one spark plug at a time to avoid confusion with wires or coils.
- Inspect Old Plugs: Examining the condition of the old spark plugs can give you insights into your engine’s health. For example, black soot indicates a rich fuel mixture, while oily plugs may suggest an oil leak.
- Use the Right Tools: A spark plug socket with a rubber insert is essential to grip the plug properly and avoid damage.
Common Mistakes to Avoid
- Cross-Threading the Plugs: Always thread plugs by hand first before using a wrench or ratchet.
- Overtightening: Excess torque can damage the cylinder head, leading to expensive repairs.
- Skipping the Gap Check: Even pre-gapped spark plugs can have incorrect measurements. Always verify the gap before installation.
- Ignoring Manufacturer Guidelines: Use the correct type and size of spark plugs specified for your vehicle.
Benefits of Replacing Your Spark Plugs
- Improved Fuel Efficiency: Fresh spark plugs ensure efficient combustion, which translates to better gas mileage.
- Better Engine Performance: Replacing worn plugs restores smooth acceleration and consistent power delivery.
- Reduced Emissions: Proper ignition reduces harmful emissions, making your vehicle more environmentally friendly.
- Longer Engine Life: Regular spark plug replacement prevents unnecessary strain on the engine, extending its lifespan.
Conclusion
Replacing your spark plugs is a simple and cost-effective way to maintain your car’s performance and fuel efficiency. With the right tools, a little patience, and this step-by-step guide, you can confidently tackle this DIY task and keep your engine running smoothly.
By staying proactive with spark plug maintenance, you’ll ensure a smoother driving experience, reduce the risk of breakdowns, and save money on professional repairs. Take charge of your car’s health and enjoy the satisfaction of a job well done!