
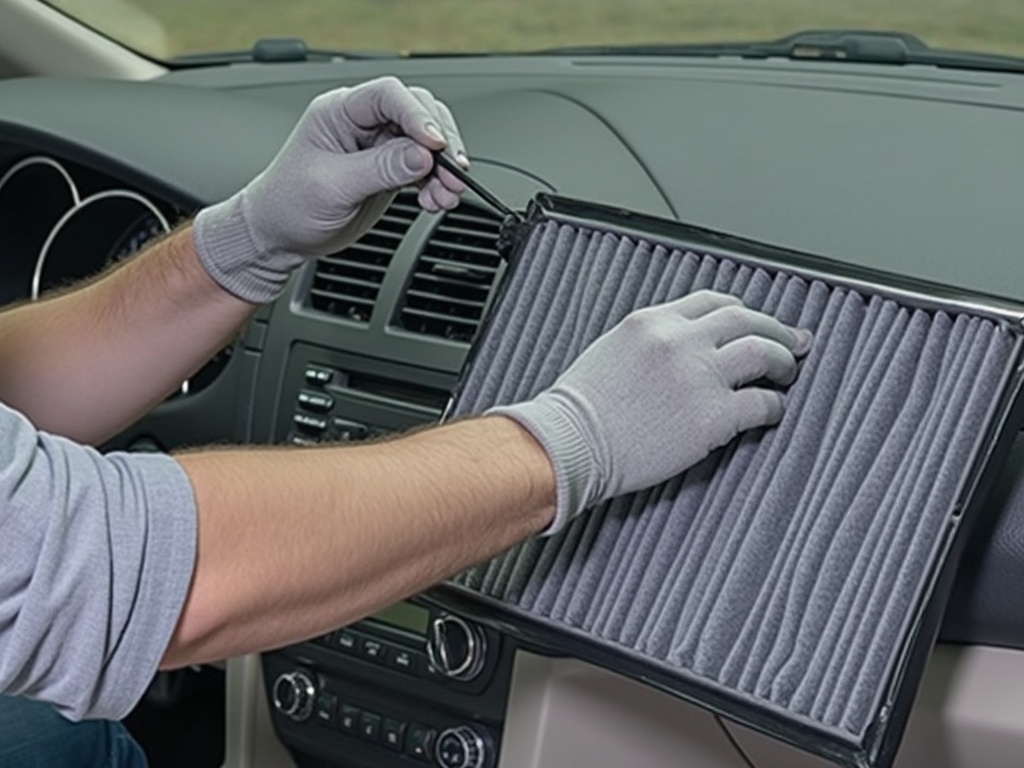
Your car’s air filter plays a critical role in keeping your engine clean and functioning efficiently. It prevents dirt, dust, and debris from entering the engine, ensuring optimal performance and fuel efficiency. Over time, the air filter becomes clogged and needs to be replaced. The good news? Replacing a car air filter is one of the quickest and easiest DIY maintenance tasks you can perform.
This guide will show you how to identify when your air filter needs replacing and how to do it in just a few minutes.
Why Replacing the Air Filter is Important
A clean air filter provides several benefits, including:
- Improved Engine Performance: Clean air is vital for efficient combustion in your engine.
- Better Fuel Economy: A clogged air filter can reduce fuel efficiency by up to 10%.
- Extended Engine Life: Prevents dirt and debris from entering the engine, reducing wear and tear.
- Lower Emissions: Ensures the engine runs cleaner, reducing harmful emissions.
When to Replace Your Air Filter
Most manufacturers recommend replacing the air filter every 12,000 to 15,000 miles or at least once a year. However, you may need to replace it sooner if:
- You drive in dusty or polluted environments.
- You notice reduced engine performance, such as sluggish acceleration.
- The air filter appears visibly dirty or clogged.
Check your owner’s manual for the specific replacement interval for your car.
Tools and Materials You’ll Need
To replace your air filter, you’ll need:
- New Air Filter: Purchase the correct air filter for your car’s make, model, and year.
- Screwdriver (if needed): Some air filter housings are secured with screws.
- Gloves (Optional): To keep your hands clean.
Step-by-Step Guide to Replacing Your Air Filter
Step 1: Locate the Air Filter Housing
- Open the hood of your car and locate the air filter housing.
- The housing is usually a rectangular or round plastic box near the engine, often connected to a large air intake hose.
- Refer to your owner’s manual if you’re unsure where it’s located.
Step 2: Open the Air Filter Housing
- Inspect the housing for clips, screws, or latches that hold it in place.
- If there are screws, use a screwdriver to loosen them.
- Carefully open the housing, exposing the air filter inside.
Step 3: Remove the Old Air Filter
- Gently lift the old air filter out of the housing.
- Inspect the filter for dirt, dust, and debris. If it’s heavily clogged or discolored, it’s time for a replacement.
- Wipe out any loose dirt or debris inside the air filter housing with a clean cloth.
Step 4: Install the New Air Filter
- Compare the new air filter to the old one to ensure it’s the correct size and shape.
- Insert the new filter into the housing, making sure it fits snugly.
- Ensure the filter is oriented correctly (some filters have an “up” or “airflow” direction marked).
Step 5: Reassemble the Air Filter Housing
- Close the housing and secure it with the clips, screws, or latches.
- Double-check that the housing is properly sealed to prevent unfiltered air from entering the engine.
Step 6: Test the Engine
- Start the engine and let it run for a few minutes.
- Listen for unusual noises and ensure the engine runs smoothly.
How to Check Your Cabin Air Filter (Optional)
While you’re replacing the engine air filter, consider checking the cabin air filter as well. The cabin air filter cleans the air entering your car’s interior and is often located behind the glove box or under the dashboard.
- Locate the cabin air filter housing (refer to your owner’s manual).
- Remove the cover and inspect the filter.
- If it’s dirty, replace it with a new one.
Tips for Maintaining Your Air Filter
- Inspect Regularly: Check the air filter every 6 months, especially if you drive in dusty or polluted areas.
- Use the Right Filter: Always use an air filter designed for your car’s make and model.
- Don’t Ignore the Cabin Air Filter: A dirty cabin filter affects air quality inside the car and can reduce the efficiency of your air conditioning system.
- Keep the Housing Clean: Wipe out dirt and debris from the air filter housing during each replacement.
Common Mistakes to Avoid
- Installing the Filter Incorrectly: Ensure the filter is properly oriented to allow optimal airflow.
- Using the Wrong Filter: Double-check the part number before purchasing a replacement.
- Skipping Regular Replacements: Driving with a clogged air filter can reduce fuel efficiency and engine performance.
- Forcing the Housing Closed: If the housing doesn’t close easily, the filter may not be seated correctly.
Signs of a Bad or Clogged Air Filter
If you notice any of the following, it may be time to replace your air filter:
- Reduced Gas Mileage: A clogged filter can reduce fuel efficiency.
- Sluggish Performance: The engine feels less responsive or struggles to accelerate.
- Unusual Engine Noises: The engine may sound rough or make a popping noise.
- Dirty Exhaust Smoke: Excessive or black smoke from the exhaust.
Conclusion
Replacing your car’s air filter is a quick and easy way to maintain engine performance and improve fuel efficiency. With just a few tools and a little time, you can ensure your engine gets the clean air it needs to run smoothly.
By following this guide, you’ll save money on labor costs and keep your car in top condition. Remember to check your air filter regularly and replace it as needed to avoid long-term engine issues. Happy driving! 🚗✨