
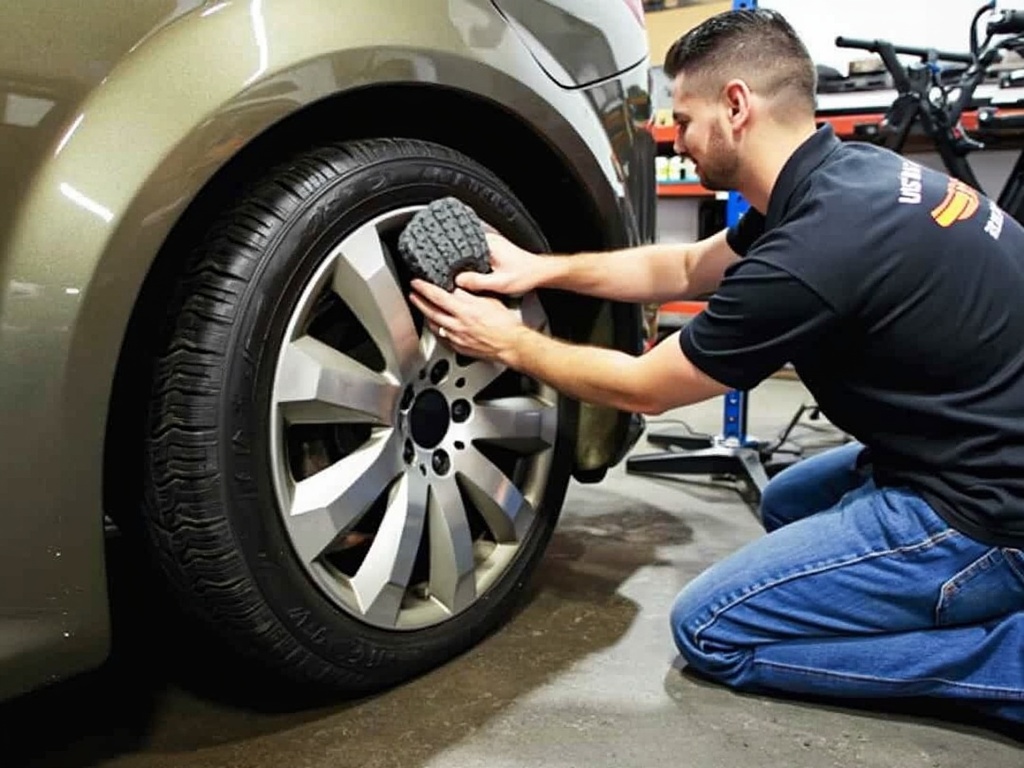
A flat tire is one of the most common roadside emergencies, but knowing how to replace it can save you time and money. Changing a flat tire is a straightforward process that every driver should learn. With the right tools and confidence, you can get back on the road in no time.
This guide will walk you through replacing a flat tire safely and effectively.
When You Might Need to Replace a Tire
You’ll need to replace a tire if:
- The tire is completely flat or has suffered a blowout.
- You notice a puncture or damage that can’t be repaired safely (e.g., on the sidewall).
- The tire has lost air and won’t hold pressure.
Tools You’ll Need
To change a flat tire, you’ll need the following:
- Spare Tire: Ensure it’s properly inflated and in good condition (check it regularly).
- Car Jack: To lift the car off the ground.
- Lug Wrench: To loosen and tighten the lug nuts.
- Wheel Wedges: To stop the car from rolling during the process.
- Owner’s Manual: For specific instructions on your car’s jack points and spare tire location.
- Gloves: To keep your hands clean and protect you from sharp edges.
- Flashlight (Optional): For visibility in low-light situations.
Safety Precautions
- Park in a Safe Location: Move your car to a flat, stable surface away from traffic. Use hazard lights to alert other drivers.
- Engage the Parking Brake: This prevents the car from rolling during the replacement.
- Use Wheel Wedges: Place wedges or heavy objects (e.g., bricks or rocks) in front of and behind the tires to keep the car stable.
- Check the Owner’s Manual: Refer to your manual for the correct jack points and spare tire installation instructions.
Step-by-Step Guide to Replacing a Flat Tire
Step 1: Prepare the Car
- Turn on Hazard Lights: Let other drivers know you’re stopped.
- Apply the Parking Brake: Ensure the car is stable.
- Place Wheel Wedges: Position them around the tires opposite to the flat one. For example, if the front tire is flat, place wedges behind the rear tires.
Step 2: Loosen the Lug Nuts
- Locate the Lug Nuts: Find the lug nuts holding the flat tire in place.
- Loosen (Don’t Remove) the Lug Nuts: Use the lug wrench to turn the nuts counterclockwise. You may need to apply force by stepping on the wrench or using a breaker bar.
- Loosen Each Nut Slightly: Loosen all the nuts about 1/4 to 1/2 turn, but do not remove them completely yet.
Step 3: Jack Up the Car
- Find the Jack Points: Refer to your owner’s manual to locate the designated jack points under the car. Using the wrong spot can damage the vehicle.
- Position the Jack: Place the jack securely under the jack point closest to the flat tire.
- Raise the Car: Turn the jack handle to lift the car until the flat tire is about 6 inches off the ground. Ensure the car is stable before proceeding.
Step 4: Remove the Flat Tire
- Completely unscrew and remove the lug nuts. Place them in a secure spot so you don’t lose them.
- Gently pull the flat tire off the wheel hub. Use both hands to lift it and set it flat on the ground to avoid it rolling away.
Step 5: Mount the Spare Tire
- Align the Spare Tire: Position the spare tire over the wheel hub, aligning the holes in the wheel with the lug nut posts.
- Push the Spare Tire Inward: Ensure it fits snugly on the hub.
- Hand-Tighten the Lug Nuts: Screw the lug nuts onto the posts by hand, tightening them as much as possible in a star pattern (tighten one, then the one opposite it, and so on).
Step 6: Lower the Car
- Turn the jack handle to slowly lower the car until the spare tire touches the ground and the car’s weight rests on it.
- Remove the jack and store it safely.
Step 7: Tighten the Lug Nuts
- Fully Tighten the Lug Nuts: Use the lug wrench to tighten the nuts as much as possible in a star pattern. This ensures even pressure and keeps the wheel secure.
- Recheck the Tightness: Go around each lug nut again to make sure they’re all firmly tightened.
Step 8: Test the Spare Tire
- Start the car and drive slowly for a short distance to ensure the spare tire is properly installed and stable.
- Listen for any unusual noises or vibrations. If anything feels off, double-check the lug nuts.
What to Do After Replacing the Flat Tire
- Check the Spare Tire Pressure: If you have a tire pressure gauge, ensure the spare is inflated to the recommended PSI (found in your owner’s manual or on the driver’s door sticker).
- Drive with Caution: Most spare tires, especially temporary “donut” spares, are not designed for high speeds or long distances. Avoid driving over 50 mph, and replace the spare with a full-sized tire as soon as possible.
- Repair or Replace the Flat Tire: Take the damaged tire to a repair shop to determine if it can be repaired or needs to be replaced.
Tips for Success
- Practice Replacing a Tire: Familiarize yourself with the process at home so you’re prepared in an emergency.
- Keep Your Tools in Good Condition: Ensure your spare tire, jack, and lug wrench are in your car and in working order.
- Use Anti-Seize Compound (Optional): Apply a small amount of anti-seize compound to the lug nuts to make future removal easier.
- Inspect All Tires Regularly: Check tire pressure and tread wear monthly to prevent flats.
Common Mistakes to Avoid
- Not Loosening Lug Nuts Before Jacking the Car: It’s much harder to loosen lug nuts when the wheel is elevated.
- Overtightening Lug Nuts: Excessive tightening can strip the threads or make future removal difficult.
- Driving Too Fast on a Spare: Temporary spares are not designed for long-term use or high speeds.
- Ignoring the Flat Tire: Don’t delay in repairing or replacing the flat tire. Driving on a spare for too long can lead to additional damage.
Conclusion
Replacing a flat tire is an essential skill that every driver should know. By following this step-by-step guide, you’ll be able to safely and confidently change a tire in an emergency.
Remember to drive cautiously on a spare tire and address the issue with the flat tire as soon as possible. With proper preparation and routine tire maintenance, you’ll reduce the chances of getting stranded with a flat in the future. Safe travels! 🚗🔧