
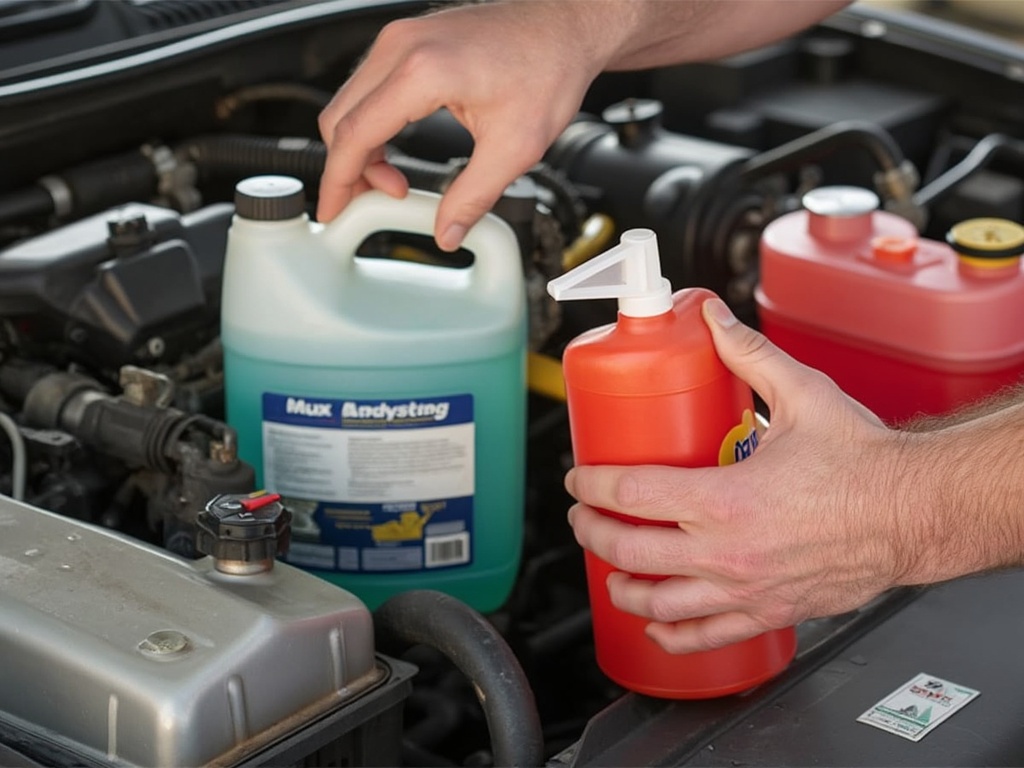
Your car’s coolant (or antifreeze) is essential for maintaining the proper operating temperature of the engine. It prevents overheating in hot weather and freezing in cold weather while protecting the engine from corrosion. Checking and refilling your coolant regularly ensures your car’s cooling system works efficiently and prevents costly engine damage.
This guide will walk you through how to check your coolant level, top it off, and maintain your cooling system.
Why Coolant is Important
Coolant plays a vital role in regulating your engine’s temperature. Without enough coolant, your engine can overheat, which can lead to serious issues like a blown head gasket, warped cylinders, or complete engine failure. Additionally, coolant contains additives that prevent rust and corrosion in the radiator and cooling system.
When to Check Your Coolant
Coolant levels should be checked at least once a month or before long trips. Additionally, inspect your coolant if you notice any of the following signs:
- Engine Overheating: The temperature gauge on your dashboard rises to the red zone.
- Coolant Warning Light: A warning light appears on the dashboard.
- Low Coolant Level: You notice a drop in coolant when inspecting the reservoir.
- Coolant Leaks: Puddles of green, orange, or pink fluid under your car.
Tools and Supplies You’ll Need
To check and refill your coolant, you’ll need:
- Coolant (Antifreeze): Use the type recommended in your owner’s manual (e.g., ethylene glycol or propylene glycol). Some vehicles require a specific color or type of coolant.
- Distilled Water: For mixing with concentrated coolant (if not using pre-mixed coolant).
- Gloves and Safety Glasses: To protect your hands and eyes from spills and splashes.
- Funnel: To avoid spilling coolant when refilling.
Safety Precautions
- Check Coolant When the Engine is Cold: Always let the engine cool for at least 30 minutes before checking or refilling coolant. Opening the radiator cap on a hot engine can release pressurized steam and cause burns.
- Work in a Well-Ventilated Area: Coolant is toxic and has a sweet odor that can attract pets and children. Avoid inhaling fumes.
- Dispose of Coolant Properly: Never pour old coolant down the drain or into the environment. Take it to a recycling center or auto shop for proper disposal.
Step-by-Step Guide to Checking and Refilling Coolant
Step 1: Locate the Coolant Reservoir
- Open the hood of your car and locate the coolant reservoir. It’s usually a translucent plastic tank near the radiator.
- Look for markings on the side of the reservoir indicating “MIN” and “MAX” levels.
Step 2: Check the Coolant Level
- Inspect the coolant level through the side of the reservoir without opening the cap.
- If the coolant is below the “MIN” line, it’s time to add more.
- Check the color of the coolant. Healthy coolant is usually green, orange, pink, or yellow, depending on the type. If the coolant is brown, rusty, or contains debris, it needs to be flushed and replaced.
Step 3: Open the Coolant Reservoir (If Needed)
- If the reservoir is opaque or you need to add coolant, remove the cap.
- Turn the cap slowly, allowing any built-up pressure to release before fully removing it.
Step 4: Add Coolant
- Use a funnel to pour coolant into the reservoir.
- If you’re using concentrated coolant, mix it with distilled water first. The typical ratio is 50% coolant and 50% water unless otherwise specified in your owner’s manual.
- Fill the reservoir until the coolant reaches the “MAX” line. Avoid overfilling.
Step 5: Inspect the Radiator (Optional)
If your coolant reservoir is empty, you may need to check the radiator directly:
- Remove the radiator cap (only when the engine is cold).
- Look inside the radiator to ensure there’s enough coolant. If it’s low, add coolant until it reaches the top.
Step 6: Reinstall the Caps
- Tighten the coolant reservoir cap and, if applicable, the radiator cap. Ensure both are secure.
- Wipe away any spilled coolant with a rag.
Step 7: Test the System
- Start the engine and let it run for a few minutes.
- Monitor the temperature gauge to ensure the engine doesn’t overheat.
- Check under the car for any leaks.
How to Flush and Replace Coolant
If your coolant is dirty, contaminated, or hasn’t been replaced in several years, it’s time for a flush. Here’s how:
- Drain the Old Coolant: Place a drain pan under the radiator, open the drain valve, and let the old coolant flow out.
- Flush with Water: Close the drain valve, fill the system with distilled water, and run the engine for a few minutes. Then, drain the water.
- Add New Coolant: Refill with fresh coolant and distilled water (if using concentrated coolant).
- Bleed the System: Remove any air bubbles by running the engine with the radiator cap off and the heater on high. Add more coolant as needed.
Tips for Maintaining Your Cooling System
- Check Coolant Regularly: Inspect levels monthly to catch low coolant before it becomes a problem.
- Inspect Hoses and Clamps: Look for cracks, leaks, or loose connections in the hoses.
- Flush the System Periodically: Most manufacturers recommend flushing the system every 30,000–50,000 miles or every 2–5 years, depending on the type of coolant.
- Use the Correct Coolant: Mixing different types of coolant can cause chemical reactions that damage the system.
- Monitor Your Temperature Gauge: If the gauge consistently runs hot, have the cooling system inspected by a professional.
Common Mistakes to Avoid
- Adding Coolant to a Hot Engine: Always wait for the engine to cool completely to avoid burns and damage to the system.
- Using Tap Water: Tap water contains minerals that can cause deposits and corrosion in the cooling system. Use distilled water only.
- Ignoring Leaks: A drop in coolant levels could indicate a leak in the radiator, hoses, or water pump. Address leaks immediately to avoid overheating.
- Overfilling the Reservoir: Coolant expands as it heats up. Overfilling can cause overflow and spills.
Signs of a Failing Cooling System
If you notice any of the following, your cooling system may need attention:
- Frequent overheating.
- Persistent low coolant levels.
- Coolant leaks under the car.
- Strange smells (sweet or burnt) coming from the engine.
- Steam or white smoke from the hood.
Conclusion
Checking and refilling your coolant is a quick and simple task that plays a crucial role in keeping your engine healthy and preventing overheating. By following this guide, you can ensure your car’s cooling system remains in top condition, saving you from costly repairs and breakdowns.
Remember to use the correct coolant type, check levels regularly, and address any leaks or issues immediately. With proper maintenance, your cooling system will keep your engine running smoothly for years to come! 🚗💧